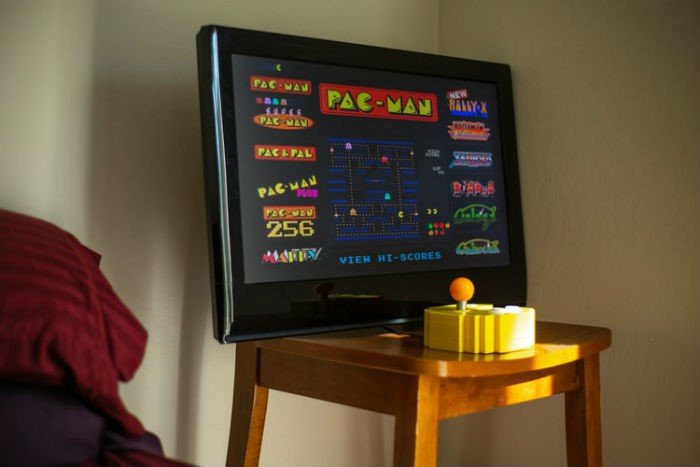
Ways to Play Retro Console Games on the Raspberry Pi

Gamers have always loved Raspberry Pi since its release in the market. They call it an exceptional all-in-one console for playing retro games. You don’t need to be a Linux expert to turn your Raspberry Pi into a retro video game console.
Tips and tricks shared in this post will make it quite easier to turn your Raspberry Pi into a high-performance retro video game console. A huge list of retro video games is waiting for you if download ROMs and follow these steps.
What do you need?
You will need Raspberry Pi and all the necessary peripherals. Now you will need an 8GB microSD card, a Windows PC or Mac PC to plug in the microSD card, and a USB video game controller. Get all these things to get started.
Download a retro gaming platform:
Raspberry Pi runs Raspbian as an operating system. It is not good enough to run a retro-style game because those games were designed for other environments. You still have a solution. You can download and install a retro-gaming platform on Raspbian.
Choose a program designed specifically to run on Raspbian. It will be great if you can install that platform over the existing Raspbian image. Retropie is the best platform designed to run classic games on Raspberry Pi. You will be able to enjoy all your favorite retro games without any issue.
You will have to download and unzip the retro-gaming platform on another Windows or Mac PC. Copy the unzipped program to that microSD card with all the essential files. It will not take too long and you are halfway done once you got the program on your SD card. Now just connect your SD card to the Raspberry PI and boot it. Your PC will turn into a retro gaming console once the program is installed
Setup required:
Let’s begin the process by connecting the internet to your computer. The internet connection will be needed to Download ROMs. Connect the video game controller and your retro gaming platform will identify it. This platform will ask you to set the controller before you move ahead. Set up the button values. It is quite simple and all those values will remain the same for all the retro games.
You will have to double assign keys if you are using a very basic controller. Avoid basic controllers and get a feature-rich controller, which you often use to play games on consoles like PS4. Open the settings menu again because now you are going to set-up the Wi-Fi. Select your wireless network, provide the password, and then connect the WiFi.

Set up the emulators:
Platforms like RetroPie do not show any emulator on the screen if there is no ROM available to run. You first need retro games to play on your Raspberry Pi. Therefore, you should first download the ROMs of your favourite retro games. Here things get a little tricky, but the solution is quite simple.
You can download all the ROMs for your favourite game on another PC. Many renowned platforms are providing retro game ROMs for free. Beware of sites that provide corrupted files with adware and malware.
Choose a trusted source to download ROMs and then copy all those ROMs in a single folder. Now copy those ROMs on a USB drive and then connect it to Raspberry Pi. Save all the ROMs on Raspberry Pi and you are almost done. Now, you will see the program to run those ROMs and play any game you loved during the 80s and 90s.
Is it safe?
Raspberry Pi is an excellent solution to play all the amazing retro games. Millennials know how exciting it would be to play those amazing games from Nintendo, Sega, and Sony again on a new platform. You don’t need that old-school video game console. All you need is a reliable retro gaming platform like RetroPie and a perfect gaming setup.
The process is pretty simple. The only trouble you will face is finding ROMs. Pick a trusted source to download ROMs and get all your favourite retro games from that source. It will take just a few minutes to download all the renowned games from Nintendo and Sega. Once everything is done, you are ready to play those amazing retro games on Raspberry Pi.


